Cypress Installation & Setup

In this Cypress testing tutorial, we will be doing the setup and installation on the local machine to get Cypress up and running for you. One of the great things about Cypress is that using just one command you can get all the necessary packages installed to start writing your first test using Cypress. Let's take a look at that -
Installation
To install Cypress locally, you need to run through the following steps -
- Create a new npm project:
mkdir your_project_name && cd your_project_namenpm init -yto initialize your project
- Install Cypress:
npm install cypress --save-dev
This will download and unzip the Cypress desktop client and install all the necessary packages for you.
Opening Cypress Desktop App
Once Cypress is installed, you can open the Cypress desktop app by running the following command -
npx cypress open
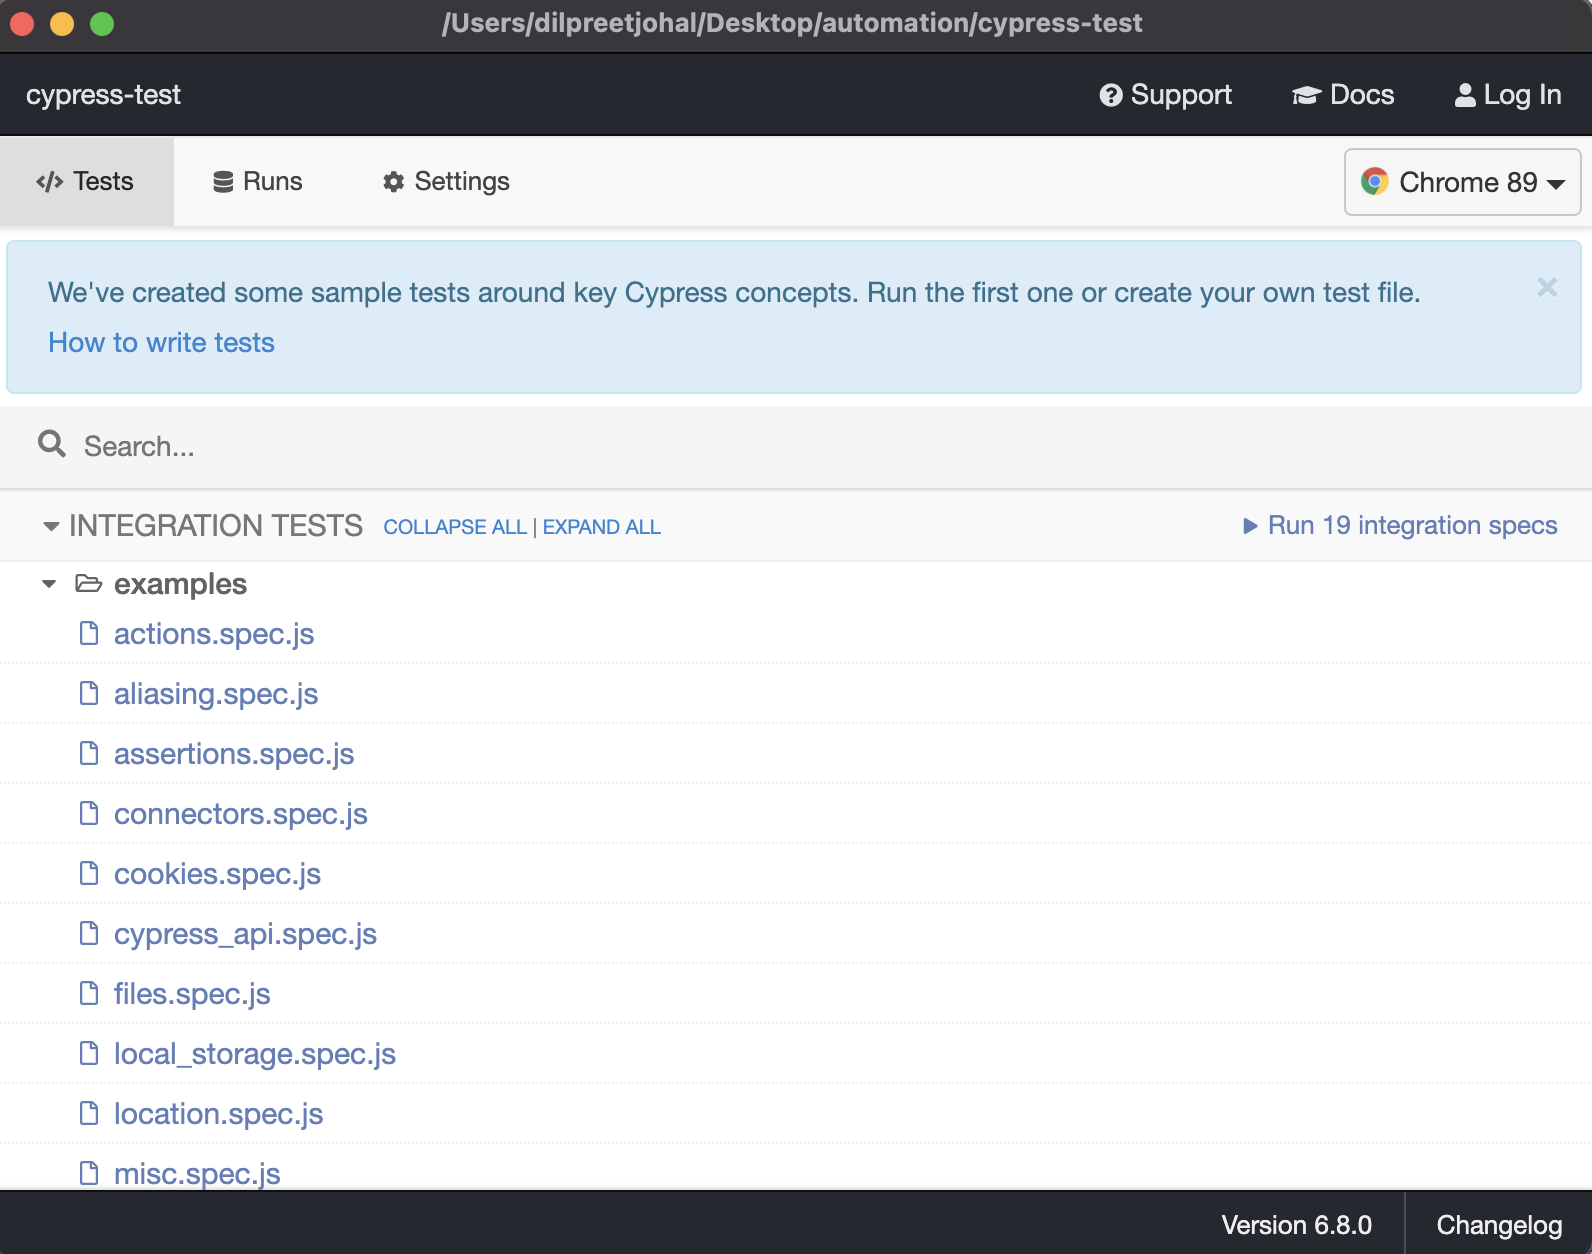
This will open up the Cypress app for you and list all the initial pre-built tests -

Run tests in Cypress Test Runner
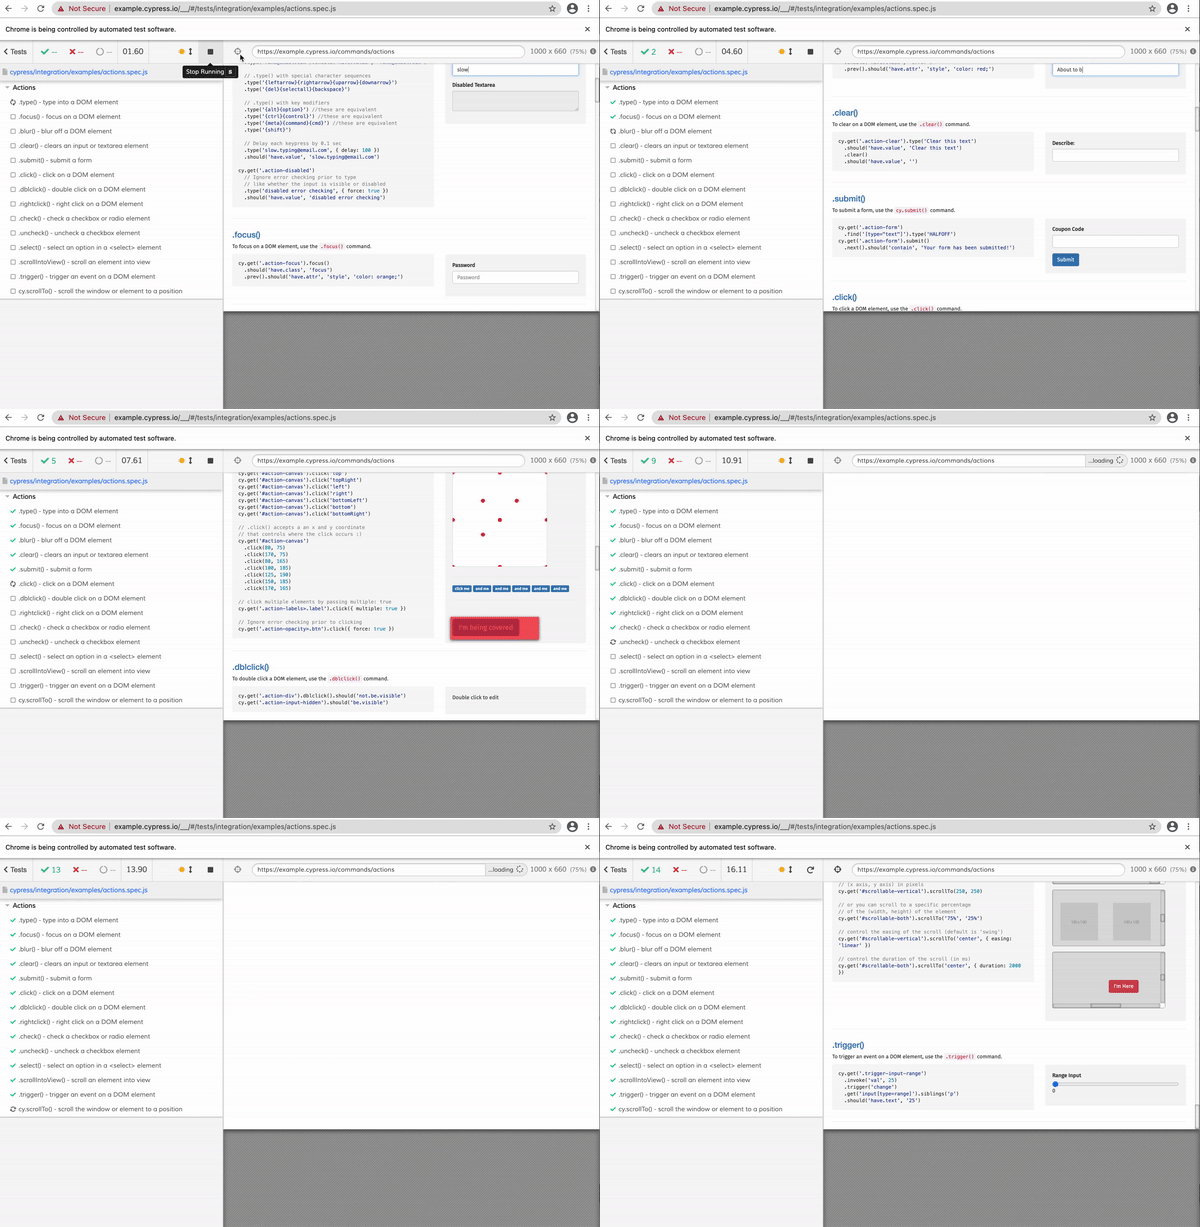
Click on any of the pre-built example test and it will launch up the Cypress Test Runner and start running all the tests -

Cypress Folder Structure
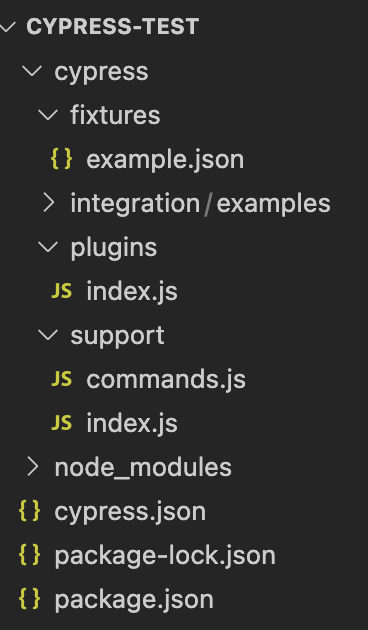
When you install Cypress, it will setup the folder structure for you automatically -
- Fixtures: used to store all the external static data for your tests i.e. JSON data files, images, etc...
- Integration: this is where all your test files are stored
- Plugins: You can extend Cypress functionalities by taking advantage of Cypress built as well as community-built plugins
- Support: In the support folder, you can store custom commands which can be utilized by your tests
- Cypress.json: this is the default configuration file where you can store information such as baseUrl, env, port, etc...

Check out the video below to see how to Setup & Install Cypress in your local machine –
I hope this post helped you out, let me know if you have any questions in the comments below!
Happy testing!
Want to learn more?
Check out our courses to master test automation and advance your career.
Explore Courses